Monday, August 29, 2011

Masculine Card

Today I am posting a masculine card. I used it for a birthday card but you could change the sentiment and use it for several different occasions.
For this card I used an old, old horse stamp I have, the tree images from Stampin' Up lovely as a tree, Cuttlebug embossing folder Winter Branches, solid cardstock and camo designer paper, TH Distress ink pads, and an old Leisure Arts heavy paper "Monkweave Camel" (purchased this & several other papers @ 10 cents a 12x12 sheet a few years ago)to make the envelope.
I always start by scoring and cutting white (or colored) cardstock for the base card. Then score again for the fold(s). Cut a piece of white or cream cardstock a little larger than you wish the finished piece. Ink up the back ground image first (in this instance the trees); stamp first images closest to you and as ink fades stamp those that would be farther away. This gives you the fade of distance without much work. Practice first to see how you can acheive the best desired look. * (If anyone is interested I would be glad to post a tutorial on any project I have posted; all you have to do is ask!)* Thanks.
Stamp the horses on separate pieces of cardstock without re-inking the stamp. Color with TH Distress Inks and Fantastix coloring tools or your favorite coloring method. Cut each horse out carefully, if you run a pencil, etc. around the cut edges, the white won't show as much and will tend to disappear. Place the lightest colored horse in the back, working forward to your right. I used foam tape to add dimension on the two last horses. Ink up your favorite sentiment (in this case I used "Happy Birthday") stamp on top of trees. Run a piece of dark green card stock through the Big Kick with the Cuttlebug Winter Branches folder, then cut to desired size. Glue everything together; starting with the base card. Either stamp a sentiment inside after adhering some strips of the dp inside or print out a poem or sentiment off computer and adhere inside card.
Hope you enjoyed this post. Thanks for stopping by!

Art Journal Challenge 2 "The Cover"

*** Added to 08/19th post: photo of project*** for Wizard of Oz swap****

After looking for three hours for some alpha and #'s stencils' I had cut several years ago; I gave up on my idea of using the modeling paste with the stencils to decorate the front of my art journal and instead pulled out my sticky backed craft foam, Big Kick and Sizzlit dies "Best Friends Forever" alpha & #'s set and cut my title page using the dies. First I took the cover loose from the binding coil and applied one coat of gesso to it to give it some tooth. After it was thoroughly dry (several hours later)I applied my title, etc. in a pleasing arrangement to the cover. Thought it could use a little more than just the letters and number die cuts, so die cuts of the same foam cut wih Sizzix Hello Kitty Sizzlit line: Cloud & Sun and the sunflower from Butterfly & Flowers Set #2. When it was to my satisfaction, I then applied two more coats of gesso to it, covering over the die cuts and allowing each coat to dry before adding another. Here it is with just die cuts and three total coats of gesso:
Using a combination of artist acrylic paints and my watercolor crayons, I colored and washed a soft combination of colors over the cover. When these dried I added touches of watercolors from a glimmery set of watercolor pans to hightlight the sun and the flowers.
Let it dry and it is finished.


Thanks for stopping by to see my work. It is greatly appreciated. Please feel free to add any comments, they are always read and cherished. Constructive criticism is always sought. Thanks so much for using your valuable time to view my "art".

Happy Little Nurse Birthday Card

Thought I would share a simple little paper pieced card I made. Both of my daughters are nurses so of course I love nurse related supplies!
For the paper piecing I used bits and pieces of scraps of papers from My Mind's Eye and Paper
Pizzaz. This is a photo of how the papers looked bare before I colored them.

The little nurse stamp is "Nurse Nora" from C.C. Designs, background paper is from Sassafrass Lass Sweet Marmalade wee bundle, and various scraps from Stampin' Up, etc. I used Stampin' Write Markers from Stampin' Up; Bush Blossom, Crushed Curry, Blushing Bride,Peach Parfait, Bashful Blue, Pacific Point, Real Red and the blender pen to add shadows and highlights to the paper piecing and coloring of the stamped image. The stamped image is placed on two scraps of designer papers from the "Welcome Neighbor" mini pad from Stampin' Up then the last back gound cs SU Real Red. All corners were rounded with the SU corner rounder. The lace was made from SU Real Red CS using the MS double loop border punch to simulate the loops in the DP.
This was my first attempt at paper piecing and I was well pleased with the results. It will be something that I do more of in the future.
Hope you enjoyed this little card and please leave me some comments. They are much appreciated.
Ta, ta for now. It's off to Neverneverland.

Friday, August 19, 2011

Red Lead Purchase Came In

Well, another Red Lead purchase came in. I love the red and white vintage labels they use for the shipping labels and all labels down to the packaging of their products! There is always a personal note from Chris and Sharon on your order invoice/receipt and a sheet of free vintage images. Opening one of their packages is like opening a treaure chest of goodies and they are always so neatly packaged usually in a see thru plastic bag tied with (reusable)red seam binding.

In the first picture you can see what I found when I pulled the order from the padded envelope. Great new bird stamps, some 6x6 Coredinations Halloween cardstock, a bird trinket, etc. and some sparkling watercolor paints at a more than reasonable price. I can hardly wait to use these beautiful watercolors on some stamped images. I'll have to try it out a little tonight; there is now way I can wait until tomorrow to wet a brush in these beautiful colors!
Come on back in the next week or so and you can see what I have made with the treasures found in these two orders from Red Lead! Thanks for stopping by and checking out my projects. Every view and comment is greatly appreciated. While you are here don't forget to follow my blog, it would be a great honor to me for you to do so!


What is on Your Desk this Morning

Well, I thought I had this set to post Wednesday morning but... the best laid plains.... This is what was on my desk early Wednesday morning! I am working on a 5x5 art swap on one of my yahoo groups, Outlaw Women Scrapbook Emporium. I can't say enough about the fun, the caring spirit, creativity and all the art being made on this group, love it! Also over on the Wendi Vecchi,Tim Holtz and RangerInkLink are great people, projects, swaps, challenges and inspiration! So if you haven't checked out any of these yahoo groups and joined; you just can't know what you are missing! Also, I follow http://bellacreations.ning.com/group; a wonderful group of women with a more sophisticated, shabby chic rose approach to art. Well most of the time; there are those different moments. I adore this type of art and decor; just life keeps getting in the way of my creativity time these days! Find your niche and join in somewhere, I guarantee you won't regret it!

And this is what I created:


Finally she receive it, in one of my brain dead moments I went up the swap list instead of down and sent to the wrong person?Therea but she was kind enough to forward it on to Lois.(must wait until the other person receives the swap before I post this photo!)
Sorry come back to visit in a couple of days to see what I was creating with these items that are on my desk! Thanks, have a marvelous day!
Isn't the internet such a wonderful thing!!! Because of my disabilities and illness, I would be almost completely isolated but with the wonders of technology I can be almost anywhere in the world talking, learning, being part of a great community of artists. Thanks everyone for taking the time to visit my blog and leave a comment. It is so much appreciated. Way behind again this week since I had to be in Ft. Smith; two days all day long. But now I have the joys of creativity burning and the overwhelming desire to "Make ART"! such as it is.

Monday, August 15, 2011

First Day of the New School Year 2011

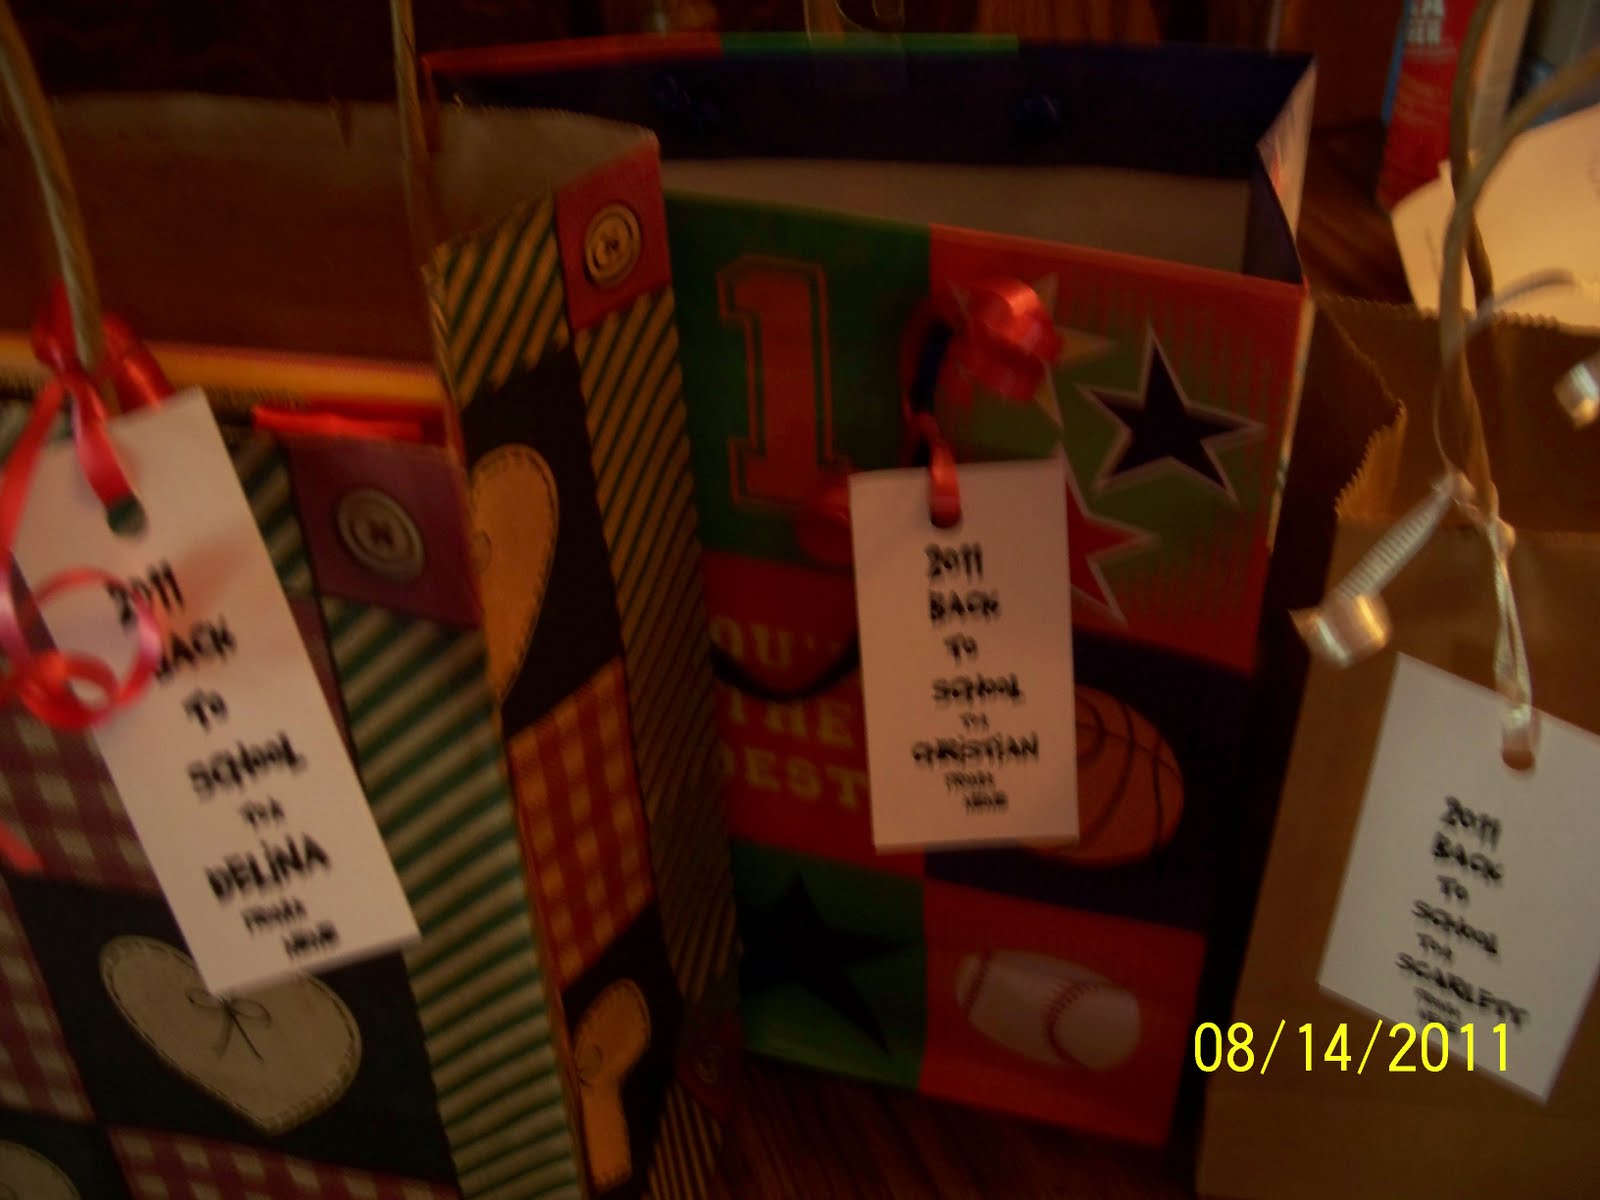
This weekend I spend several hours putting together a little gift bag for each of my grandchildren for a Back to School gift! I took them by and gave them to each one Sunday afternoon. Here's some photos of what I did. I used gift bags I had on hand so each one is different. It would look a little more polished if they were all the same. I designed little tags with their name and the title of the gift bag on the computer in my Word program, printed them out, cut them apart with my paper cutter, punched holes in tops of tags and tied the respective tag to the bag.
I seriously need to work on my photography and lighting. Also I think I must have been a little unsteady holding the camera but I think you can pretty much see what I did for them. It was really a small thing but seemed to mean a lot to them.
Please leave comments, they are very much appreciated. Visit often, you are missed, when you don't. Thanks and may this school year be a wonderful one for all involved; children, parents, teachers, etc. May God bless each one.


Chotski Pin I made for Denise

We are having a lot of great swaps over on the OWSE yahoo groups. Also several of us are involved in a new art journal challenge and venture. I had signed up for the chotski pin swap and Denise let me know she received her chotski pin today so I can put it up on the blog now and get feedback.

Let me know honestly what you think and how it could have been better. This is my first one of these to make. It was also my first time to make the TH charms using of course TH papers. I also wired and made a few of the beads.


We are all having a blast over at the OWSE yahoo group, stop by sometime and visit. I know you will enjoy it and all the great ladies there!

Thanks for all the encouragement and please leave me a comment. It is always greatly appreciated.